
Skip to content

CNC machining / project stage

CNC Prototyping to Production Transfer

CNC prototyping gives your team metal parts to assemble, measure and test before committing to repeat production. WenXinDa supports prototype housings, brackets, shafts and mechanical interfaces, with the machining route built around what the first parts need to prove. The aim is useful feedback: a fit issue found, a feature improved and a clearer drawing for the next build.

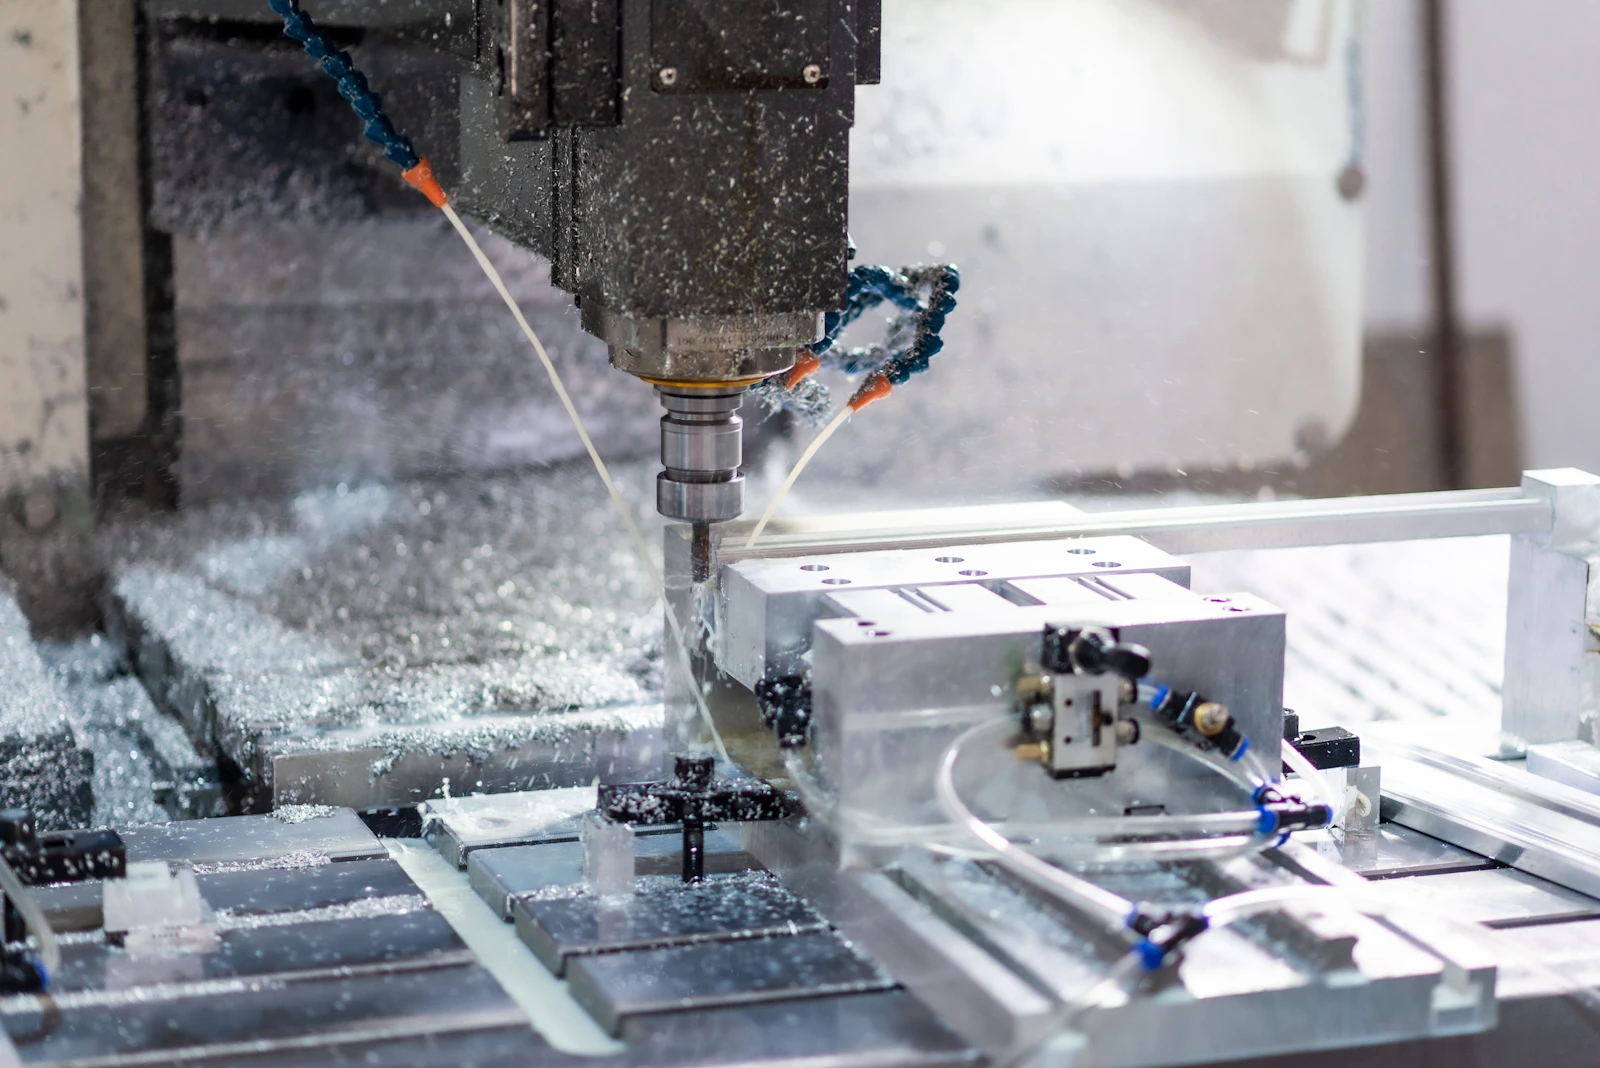
CNC milling cutter machining a metal workpiece
CNC milling in progress

Process at a glance

From test part to released specification

The machining operation may look similar at prototype and production stages, but the decisions are different. Early parts prioritize learning; repeat orders need a controlled revision, agreed appearance, inspection method, packaging and change procedure.

The operation creates the geometry; the part function determines which features need the closest control.

CNC machining A rotating cutter removes material from a fixed workpiece to form pockets and other features. CUTTERWORKPIECE01 / REMOVE
CNC machining

01 Fit

Build a prototype that answers the next engineering question

A small batch is most valuable when the test goal is clear. Decide whether you need to check assembly, evaluate material performance or approve the appearance before selecting the sample specification.

Fit and assembly

Check mating positions, access for fasteners and whether tolerances accumulate across an assembly.

Functional testing

Use a material and condition appropriate to the test. Record which features will be measured before and after.

Appearance review

Define visible surfaces and finishing intent separately from critical functional dimensions.

Design review

Make revision control part of the project

Keep every change connected to the part revision. A marked-up drawing, a mating-part photo and a short test result are often more useful than a long list of general improvements.

  • Separate features being tested from temporary geometry or interfaces that will change in the next design iteration.
  • Record the prototype material and surface condition alongside test results so the next build has a clear reference.
  • Keep the 3D model and 2D drawing at the same revision and identify the approval date.
  • Record which dimensions changed after fit or functional testing.
  • Separate temporary prototype concessions from final production requirements.
  • Set a first article review for features that affect assembly or safety.
  • Define finish appearance with an approved sample or written acceptance note.
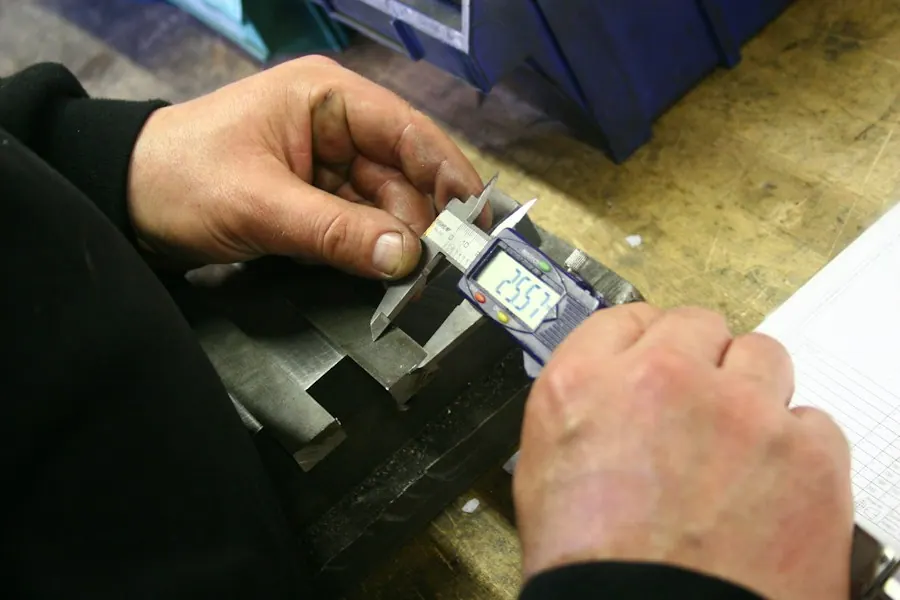
Digital caliper measuring a metal part during review
Prototype measurements should answer a defined questionProcess detail

02 Decisions

Prototype and production priorities

The prototype should represent the features being tested. The production release should capture the decisions that made those features work.

DecisionWhat to specifyWhy it matters
Test purposeFit, motion, load, appearance or assembly learning required from the buildA prototype should represent the conditions relevant to its test so the result can guide the next design decision.
Production transferFrozen revision, repeat demand, approved sample and process changesThe production route can differ from the first prototype while preserving the accepted functional requirement.
GeometryWhich interfaces are being tested now?Critical features can receive attention without over-specifying every surface.
MaterialRepresentative grade or an explicitly temporary substitutePerformance tests are only meaningful when material assumptions are known.
AcceptanceFit checks, measurements and functional test outcomeFeedback must be concrete enough to change the drawing.
Repeat orderReleased revision, approved sample, inspection and packingThese prevent prototype assumptions from becoming production ambiguity.

03 Project route

A practical prototype-to-production path

Move from a test objective to a physical part, then turn the findings into a released drawing. Each stage should leave fewer unanswered questions for the next build.

  1. 01

    Set the test goal

    Identify fit, motion, strength or appearance questions and the features to evaluate.

  2. 02

    Build and review

    Inspect the agreed features and record assembly or test observations.

  3. 03

    Release the revision

    Update both drawing and model, then decide what is approved for production.

  4. 04

    Plan repeat orders

    Confirm quantity, inspection records, packaging and how future changes will be communicated.

04 Applications

Prototype parts for practical product development

Use machined samples to reveal problems that are easy to miss on screen: access for a screw, clearance around a connector or a tolerance stack across several parts.

Fit check before a tooling decision

Project brief: a product team needs to check component interfaces before committing to a repeat-production route. Identify the mating holes, locating faces and installation constraints that the prototype must represent. Keep learning dimensions distinct from features ready for approval. After the build, record what changed and issue the next controlled revision. The result is a clearer production brief for the next machining, stamping or tooling discussion.

Functional equipment trial

Project brief: a mechanism needs physical parts for an agreed assembly or movement test. Provide the intended material, critical interfaces, test setup and any surface condition that influences the result. Define whether the prototype must represent the final finish or only the geometry being evaluated. This gives the build a specific job and makes the test feedback useful when the design moves toward a repeat order.

Pilot batch for production transfer

Project brief: the geometry has been tested and the team needs a controlled first release. Freeze the drawing, material, finish and inspection criteria used for approval. Compare prototype workholding with the intended repeat route and identify any fixtures or process changes. Keep the pilot samples, report and change record together so the production handover carries forward the features that were actually accepted.

When the design is ready, compare the prototype route with the expected production demand. A fixture, a different blank or a combined process may improve repeat cost without changing the approved function.

Application project brief

See the part.
Plan the details that matter.

Use the application, mating features and approval checks to turn a drawing into a clear manufacturing brief. Bring your part number and the assembly requirement that drives the design.

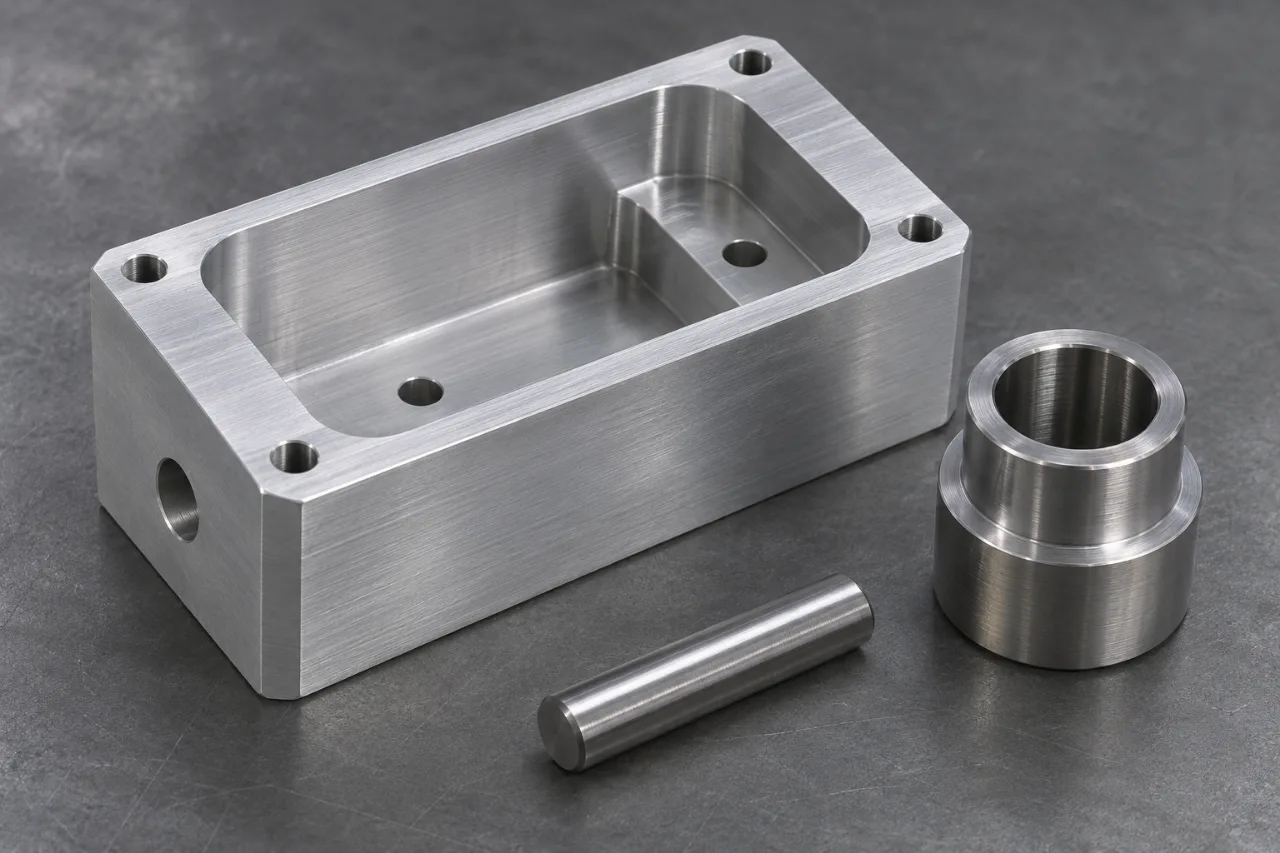
Machined aluminum housing, turned steel bushing and dowel pin
Milled and turned features for assembly interfaces

Tooling & equipment / supporting CNC parts

Keep mating features on the same page.

A machined locating block, fixture component or mounting interface often carries the dimensions that connect several parts. A tight tolerance has value when it protects the intended fit. The review starts with the locating scheme, access for machining and the final inspection condition, connecting the part drawing to the assembly task.

The objective is a supporting component with a clear fit requirement and a proportionate inspection plan. Mark the mating features when you request a quote so the review targets the dimensions that do the work.

Explore the project approach

Engineering approach

  • Review the model and drawing together. Establish the datum features, mating holes, threads and surfaces that control position or alignment.
  • Plan setups around tool reach, workholding and the relationship between critical features. Discuss corner radii and deep features that affect the machining route.
  • Include material condition, surface treatment, masking and deburring in the same plan. Define whether critical dimensions apply before or after treatment.

Approval checkpoints

  • Inspect the critical relationships from the specified datum system.
  • Check thread requirements, accessible edges and mating surfaces.
  • Link inspection records and part identification to the drawing revision.

05 Common questions

Questions before you request a quote

Straightforward answers to the design, manufacturing and purchasing questions that come up before an order.

Can a CNC prototype help prepare a stamping project?

It can help evaluate fit and assembly geometry before dedicated tooling is released. The machining route and material condition may differ from the intended stamped part, so identify exactly what the prototype is intended to establish. Use the resulting design decisions to prepare the controlled drawing, material and tooling brief.

What should be frozen before a pilot production release?

Freeze the drawing revision, material condition, functional dimensions, finish, inspection criteria and sample approval reference. Record any process or fixture changes planned for repeat orders. This gives engineering, purchasing and inspection a shared baseline when the project moves beyond the development build.

When is CNC machining useful for a prototype?

Use CNC when the sample needs machined metal properties, controlled mating features or a finish close to the intended part. It is useful for assembly trials, mechanical interfaces and functional testing.

Should the prototype use the final material?

Use the final grade and condition when strength, heat, wear or corrosion are part of the test. A substitute can work for an early shape check, but record what the test will and will not establish.

What should I send after the first sample is tested?

Send an updated model and drawing, a concise change list and the test findings behind those changes. Mark the features that are approved so the next build focuses on what still needs work.

How do prototype parts move into repeat production?

Release a stable revision, set the material and finish, approve the relevant inspection checks and define packing. Then review the repeat quantity and fixture strategy against that accepted specification.

Prepare an RFQ

Start with the part and the test you need to run

Send the current files and a short test objective. Include your target build date and expected production demand so the first quote supports the next stage too.

  • • Current model, drawing and revision
  • • Prototype quantity and test purpose
  • • Material, finish and critical features
  • • Expected production demand and approval timeline
Request a quote

Explore related manufacturing routes